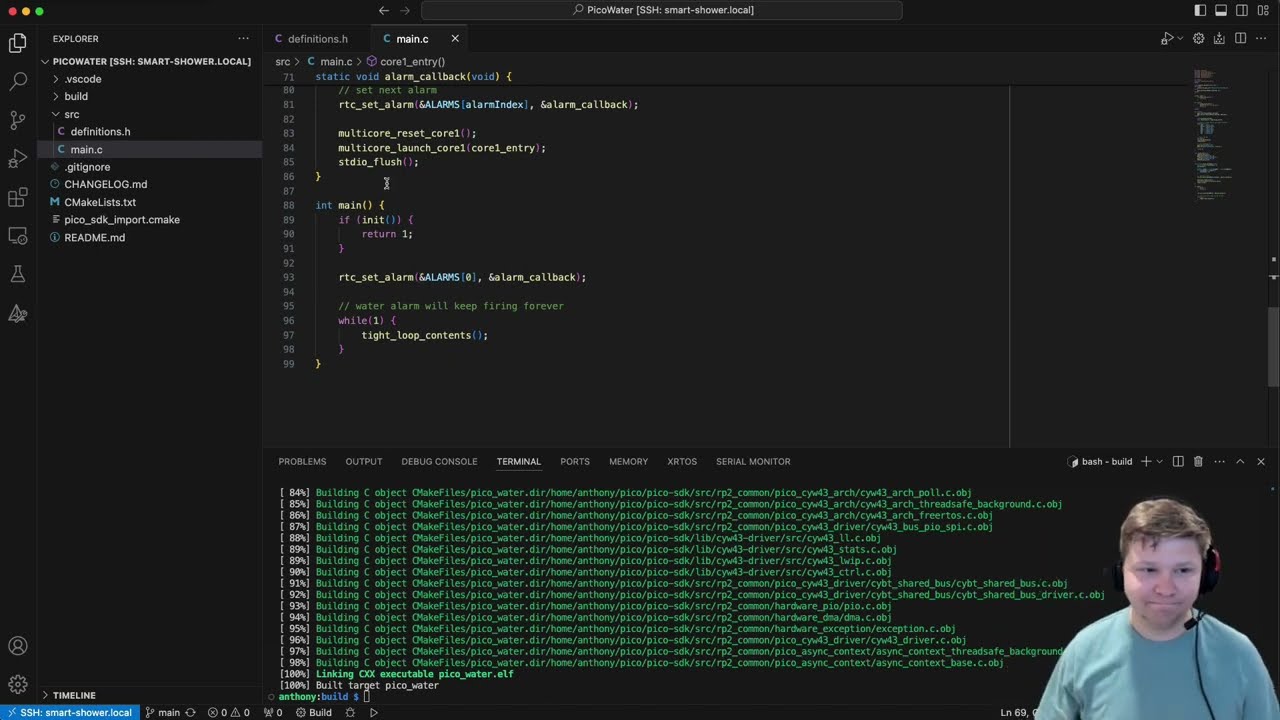
This project automates the watering of your garden using a Raspberry Pi Pico. It leverages the Pico's Real-Time Clock (RTC) to set alarms for watering schedules and controls a solenoid valve to manage water flow.
You can check out a video walkthrough of the code for version 1.0.0 on my YouTube channel here.


- Automated garden watering using a solenoid valve.
- Configurable watering schedules via RTC alarms.
- Supports both Raspberry Pi Pico and Pico W (with Wi-Fi functionality).
- Supports USB communication to control pico
- PICO_W only:
- Web Server that allows remote control of the system
- Raspberry Pi Pico or Pico W
- Solenoid valve
- Necessary electronic components (wires, resistors, etc.)
- CMake 3.13 or later
- Raspberry Pi Pico SDK 1.5.0 or later
- PICO_W only:
- Python installed on your system and accessible on the PATH via python3 or python
-
Clone this repository:
git clone https://github.com/yourusername/pi_water_pico_project.git cd pi_water_pico_project -
Initialize the Pico SDK submodule:
git submodule update --init
-
Configure your project:
mkdir build
cd build
cmake ..

# or if you're using pico_w
# make sure \" is included in the wifi_ssid and wifi_password to have quotes inside the quotes
cmake -DPICO_BOARD=pico_w -DWIFI_SSID="\"your_ssid\"" -DWIFI_PASSWORD="\"your_password\"" ..
-
Build the project:
make -j4
- Flash the compiled program to your Raspberry Pi Pico or Pico W.
- Connect the solenoid valve to the specified GPIO pin (default is pin 16).
- Set the RTC to the current date and time in
definitions.h:#define TODAYS_YEAR 2024 #define TODAYS_MONTH 5 #define TODAYS_DAY 25 #define TODAYS_DOTW SATURDAY #define TODAYS_HOUR 1 #define TODAYS_MIN 30 #define TODAYS_SEC 0
- Define your watering schedule in
initial_alarms.h:datetime_t INITIAL_ALARMS[] = { { .year = DATETIME_IGNORE, .month = DATETIME_IGNORE, .day = DATETIME_IGNORE, .dotw = SUNDAY, .hour = 6, .min = 0, .sec = 0 }, { .year = DATETIME_IGNORE, .month = DATETIME_IGNORE, .day = DATETIME_IGNORE, .dotw = TUESDAY, .hour = 6, .min = 0, .sec = 0 }, { .year = DATETIME_IGNORE, .month = DATETIME_IGNORE, .day = DATETIME_IGNORE, .dotw = FRIDAY, .hour = 6, .min = 0, .sec = 0 } };
- Define how long you want the watering to run for (default is 300000):
#define SOLENOID_RUNTIME_MS 300000
- Control the Pico via USB
- connect a usb to the pico
- run the following command in a terminal
minicom -b 115200 -D /dev/ttyACM0 -c on- device could also be /dev/ttyACM1, /dev/ttyACM2, etc.
- type
helpto get started
- .github/: Contains GitHub workflow checks for PRs
- version-check.yml: a github actions file that ensure the version has been incremented correctly for each pull request
- build/: Compiled source directory.
- html_files: HTML files that will be compiled by
makefsdata.pyand sourced intohtmldata.c- index.shtml: Main index.shtml entry that will run when the pico_w web server is started
- screenshots: Screenshots of the application
- usb_comms_pico.png: Screenshot of the help menu for the regular pico
- usb_comms_pico_w.png: Screenshot of the help menu for the pico w
- webserver_pico_w.jpeg: Screenshot of the web application running on the pico w webserver
- src/: Source code directory.
- alarms.c: Holds and defines all of the application alarms
- alarms.h: Headers for
alarms.c - cgi.c: Get requests the HTML files call for updating system information
- cgi.h: Headers for
cgi.c - definitions.h: Configuration and definitions.
- helpers.c: Various helper funcions used throughout the application
- helpers.h: Headers for
helpers.c - initial_alarms.h: Holds all of the initial alarms a user wants the program to start with
- logger.c: Handles printing color and arguments to console
- logger.h: Headers for
logger.c - main.c: Main application code.
- ssi.c: Directives that allow the server to dynamically include content in web pages before they are sent to the client
- ssi.h Headers for
ssi.c - sys_info.c: Common system information shared between
usb_commsandssi - sys_info.h: Headers for
sys_info.c - usb_comms.c: USB Communication between a host and the pico
- usb_comms.h: Headers for
usb_comms.c
- .gitignore: files git should ignore when making commits
- CHANGELOG.md: History of project versions and changes
- CMakeLists.txt: CMake configuration file.
- htmldata.c: data converted from html to raw hex
- lwipopts.h: lwip options used for pico_w server
- makefsdata.py: python script that converts html_data to raw hex
- pico_sdk_import.cmake: Pico SDK import script.
- README.md: Project setup and information
Thank you to the "Learn Embedded Systems" YouTube channel for the tutorial on how to make a Simple Web Server in C. Make sure to check out their YouTube video that I followed here
This project is licensed under the MIT License. See the LICENSE file for details.