Debug OpenJDK RISCV with vscode
当前 PLCT 实验室 OpenJDK 小队正在进行 OpenJDK 向 RISC-V 32G 的移植工作,为了方便,以下我们将 RISC-V 32G 版本的OpenJDK 简称为 openjdk-riscv。下面我们主要介绍两种方式对运行在 QEMU 模拟器中的 openjdk-riscv 进行调试,1. 使用GDB进行远程调试,2. 使用 VScode 工具进行远程开发及调试。
使用GDB进行远程调试,这种方式使用 GDB 远程调试模式对运行在 QEMU 上的 openjdk-riscv 进行调试,方法比较简单,推荐在使用 vscode 工具进行远程调试之前都先尝试使用 GDB 进行远程调试。
https://github.com/openjdk-riscv/jdk11u/wiki/Debug-with-GDB-in-QEMU-user-mode
VSCode(全称:Visual Studio Code)是一款由微软开发且跨平台的免费源代码编辑器。关于如何安装 VScode ,我们只需要从官方下载然后进行正常的点击安装即可。安装文档也可以参考:VScode 安装 ,下面我们主要介绍使用 VScode 工具进行远程开发及调试,通过 VScode 的远程开发模式打开位于远程机器上的项目,相当于 VScode 运行在远程的机器上,我们执行的相关调试也都运行在远程机器上。使用 VScode 远程开发模式,我们需要进行下面几步操作:


成功打开远程机器上的项目后如下:


GDB 调试配置内容如下:
{
    // Use IntelliSense to learn about possible attributes.
    // Hover to view descriptions of existing attributes.
    // For more information, visit: https://go.microsoft.com/fwlink/?linkid=830387
    "version": "0.2.0",
    "configurations": [
        {
            "name": "(gdb) Launch",
            "type": "cppdbg",
            "request": "launch",
            "miDebuggerServerAddress": "localhost:33334", // GDB地址信息
            "program": "/usr/local/plct/jdk11u/build/linux-riscv32-normal-core-slowdebug/jdk/bin/java", //调试程序入口
            "args": ["-version"], // GDB参数
            "stopAtEntry": false,
            "cwd": "/usr/local/plct/jdk11u",  //源码位置
            "environment": [],
            "externalConsole": false,
            // 动态库路径
            "additionalSOLibSearchPath": "/usr/local/plct/jdk11u/build/linux-riscv32-normal-core-slowdebug/jdk/lib:/usr/local/plct/jdk11u/build/linux-riscv32-normal-core-slowdebug/jdk/lib/jli:/usr/local/plct/jdk11u/build/linux-riscv32-normal-core-slowdebug/jdk/lib/server",
            "MIMode": "gdb",
            "miDebuggerPath": "/usr/local/plct/riscv32/bin/riscv32-unknown-linux-gnu-gdb", //重点 GDB位置,需要使用riscv32-unknown-linux-gnu-gdb版本的GDB
            "setupCommands": [
                {
                    "description": "Enable pretty-printing for gdb",
                    "text": "-enable-pretty-printing",
                    "ignoreFailures": true
                }
            ]
        }
    ]
}
例如调试java -version,首先进入到构建好的JDK镜像的bin目录下,然后在后台使用QEMU执行java -version,如下
/path/to/qemu/bin/qemu-riscv32 -L /path/to/riscv32/sysroot -g 33334 ./java -version &
示例1,调试 main.c

示例2,调试 bytecodes.cpp
1.启动 debug,并切换到第二个执行线程
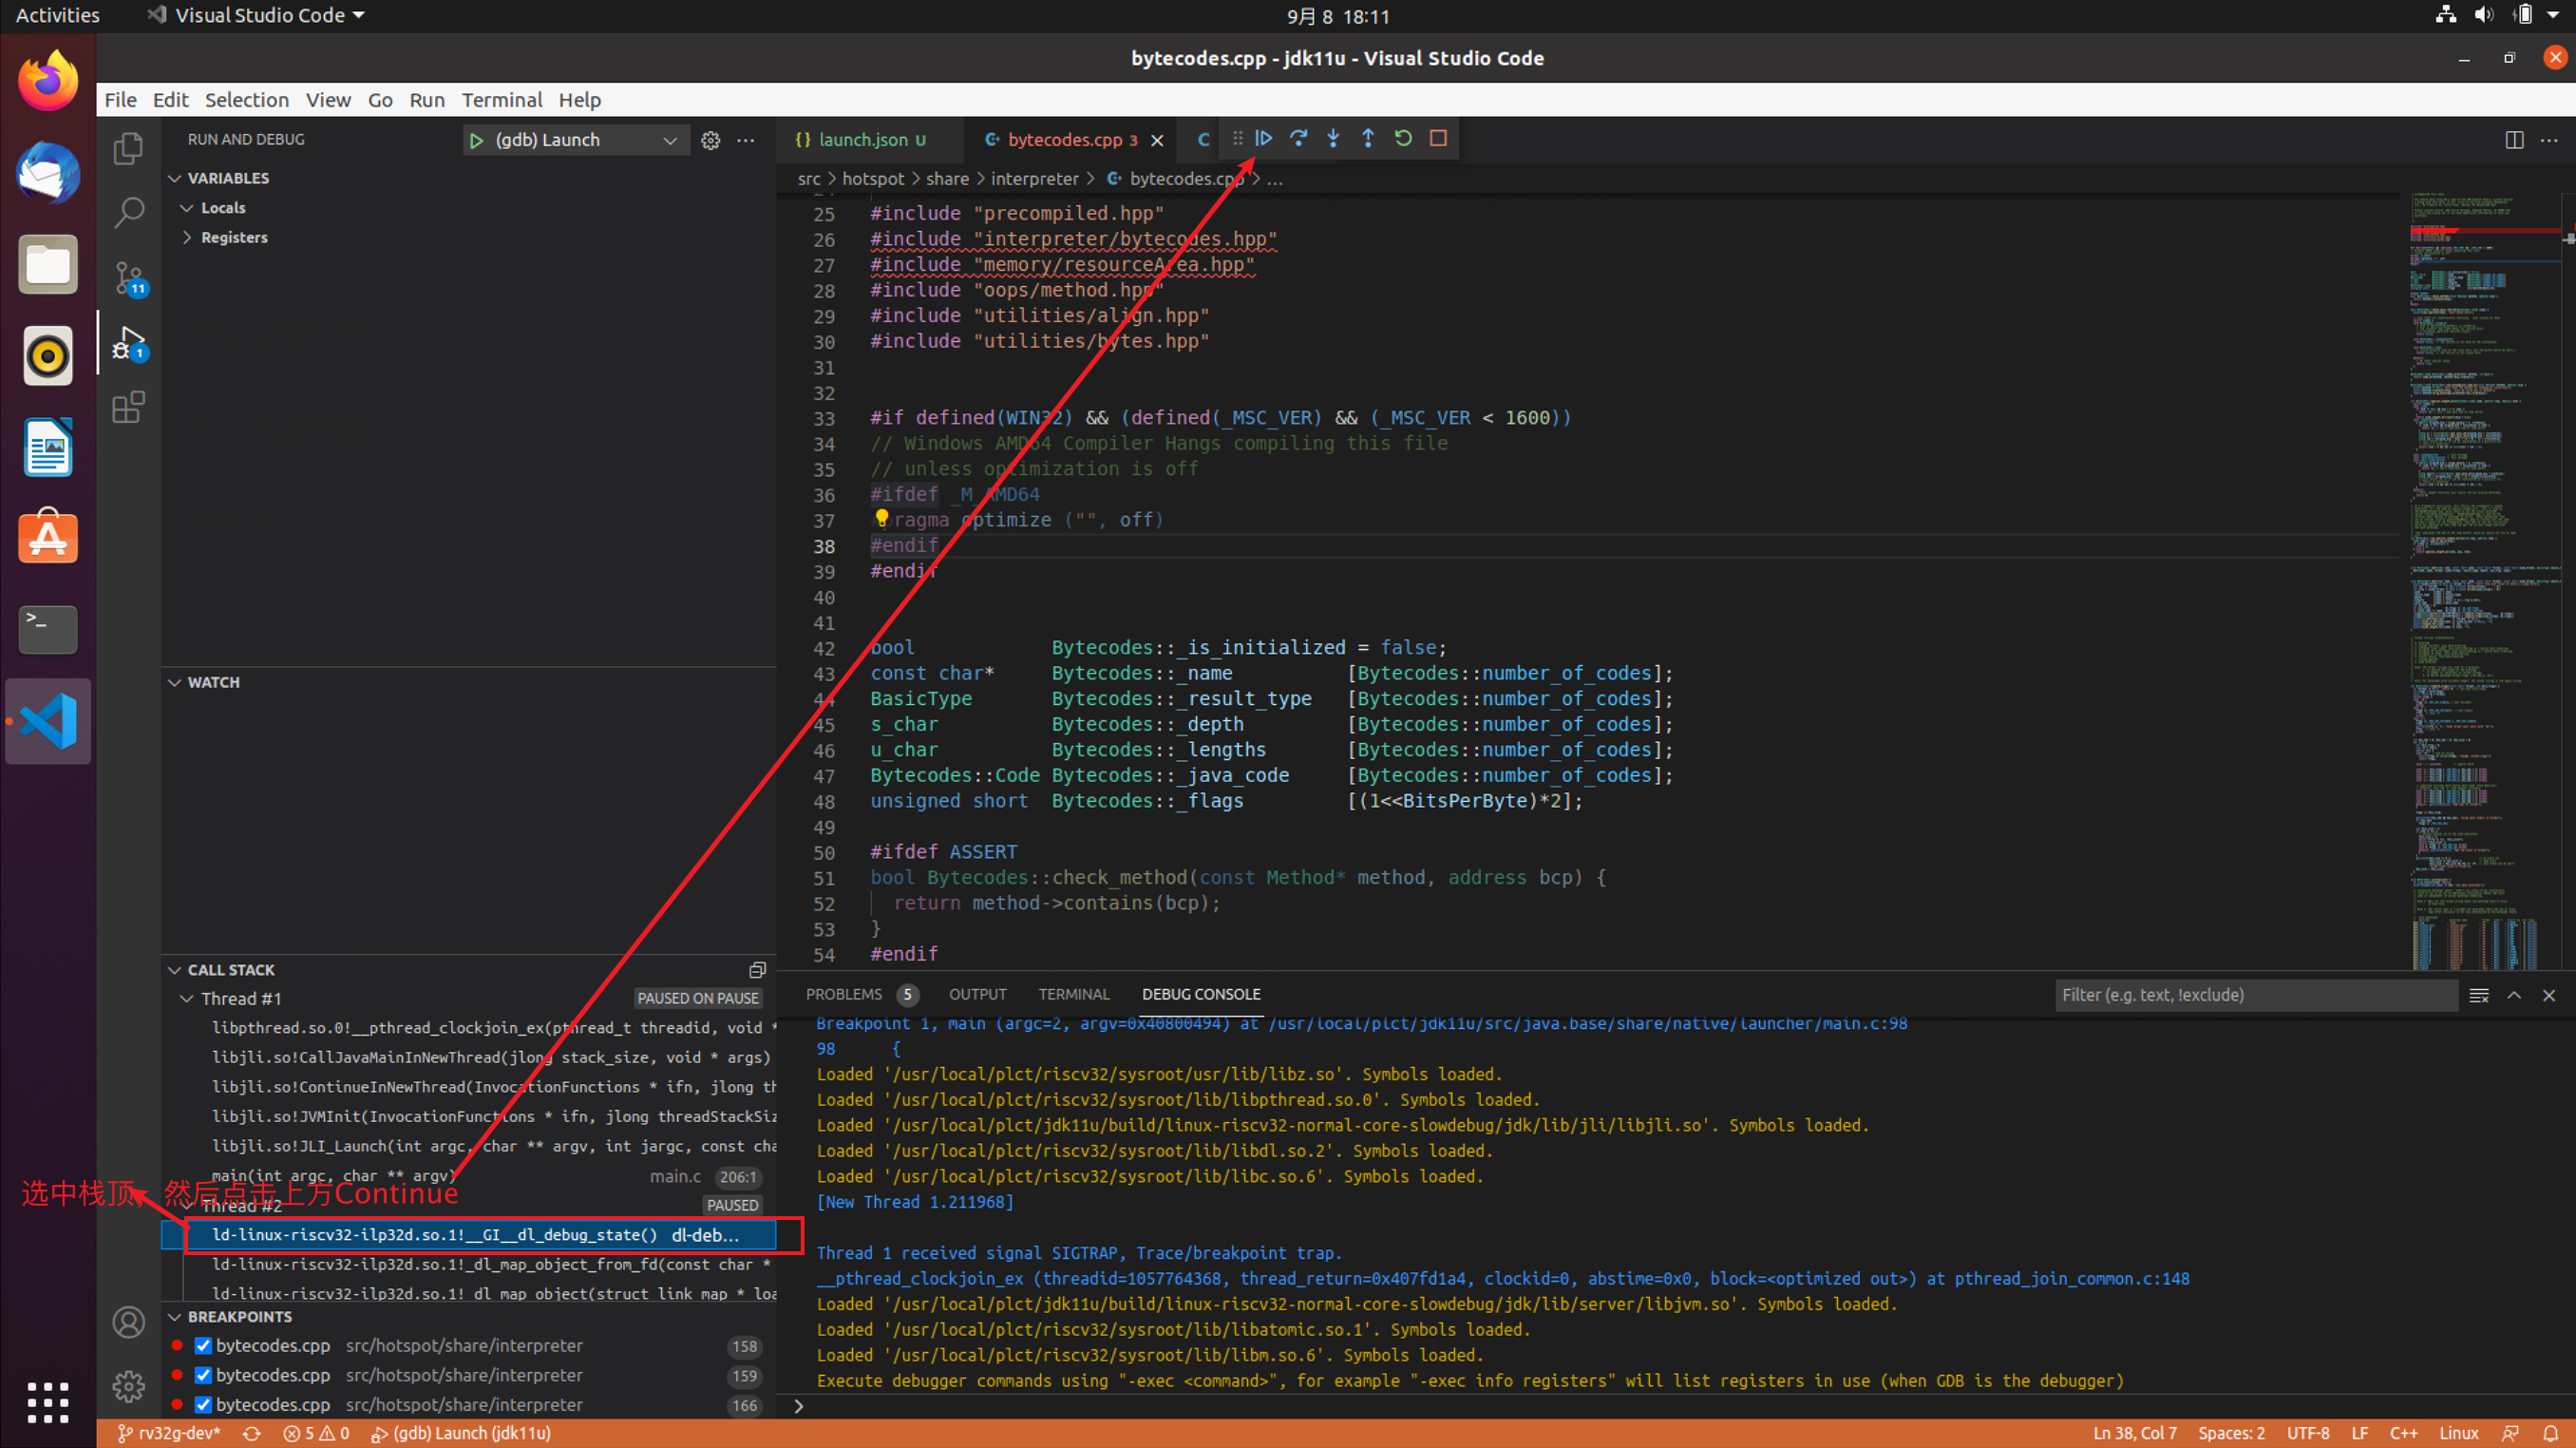
2.进行 bytecodes.cpp 调试
