Soundboard
In this lesson we will go over a general list of the tools and utilities built into App Inventor 2 by creating a soundboard for a 7-piece drum kit. The user will be able to press buttons on the screen to make sounds.
This is one of two screens you will be using to make your application. The user interface is what allows a user to interact and use an application and therefore we will primarily be dealing with the visual parts of your application.
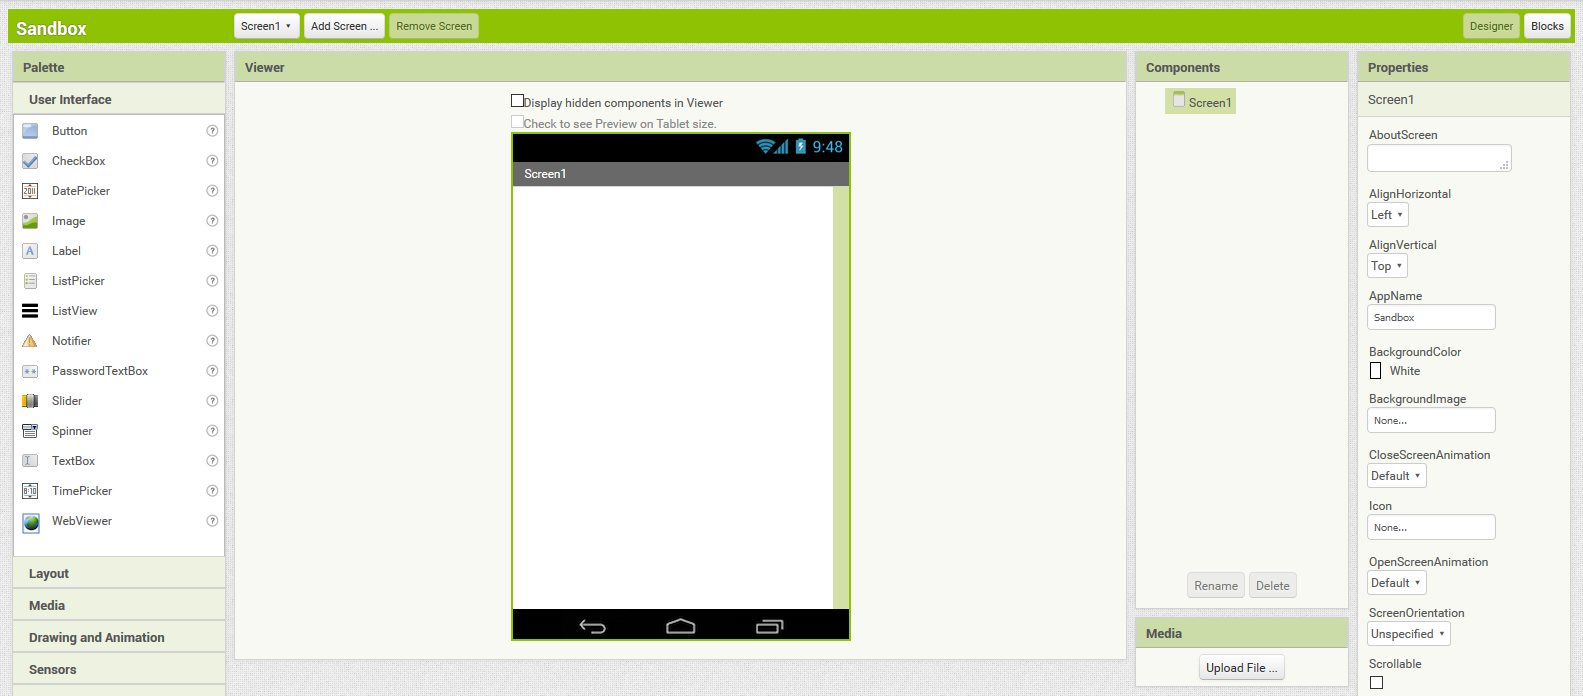
On the left hand side we have a toolbar called the Palette. This is where you will find all the visual and functional elements for your program to use. Think of it like a toolbox. In the middle we have the Viewer window which displays what the application should look like as you build it. On the right we have three more windows: Components, Properties, and Media. Components is a list of everything that is being used to make the application, Media is a list of uploaded assets that your application uses including images and sound files, and Properties is where you will modify the components of your program.
The Blocks screen is where you will be creating the logic behind what your program does. This screen contains all the different things you can do with each component of your program and allows you to have them interact with each other.
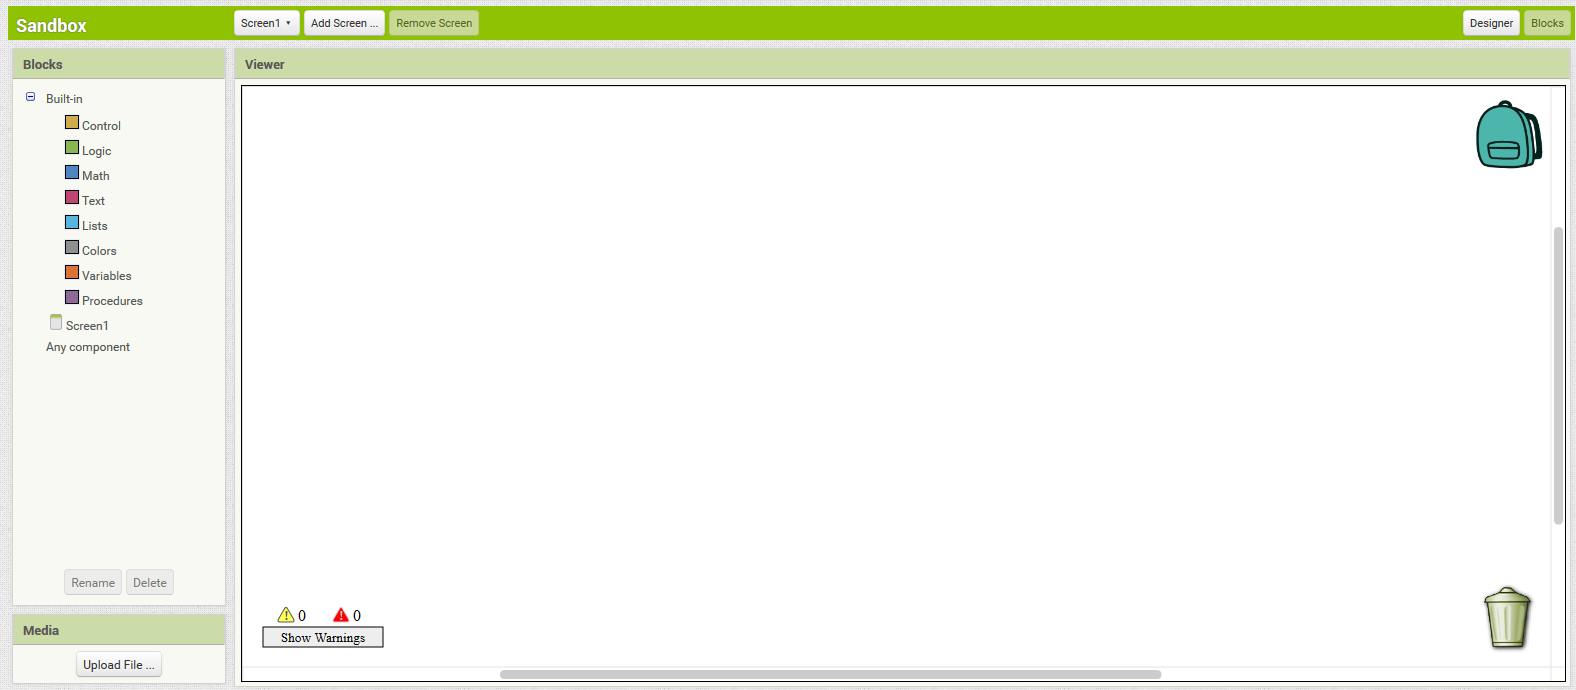
On the left hand side we have the Blocks toolbar; this is where we will drag and drop different blocks from to work with. We also have the Media toolbar at the bottom which contains a list of all assets your application uses. To the right is the Viewer which is the workspace that you drag and drop blocks to to create Procedures and other various functions. Inside we have a backpack where you can save different blocks and combinations of blocks to reuse later as well as a trash can to get rid of unwanted blocks.
A button is one of the components we will be using to create a soundboard. A button allows us to press on screen to make something happen. With App Inventor 2 you can have a button pick up short and long presses to allow for different functionality.
An image is a picture that is displayed on screen. We will have to upload these to App Inventor 2 using the media toolbar on either screen. We will be using pictures to create a visual for our buttons in this application.

A sound in App Inventor 2 is just like a sound in real life. These have to be uploaded to App Inventor 2 using the media toolbar on either screen. We will be using sound files to create our soundboard.
App Inventor 2 contains two different pages for creating an application. In most cases, both are required to making a fully-functional application. The first screen we will learn to use is the User Interface screen. The user interface is what allows a user to interact and use an application and therefore we will primarily be dealing with the visual parts of your application.
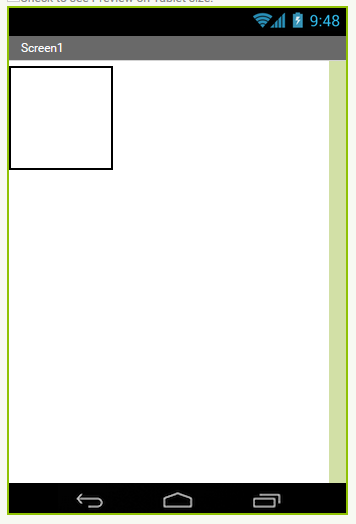
We will start by placing something in your application. Since we will be making a soundboard we should consider what layout we will be using for what is on screen. We will be placing images on the screen that when clicked will make a sound. To do this we will need a few different components. Since we will be placing and arranging images on screen we should see what is available to us in the Layouts section of the Palette toolbar. In here there is something called a Table Arrangement. Drag and drop this onto your screen.
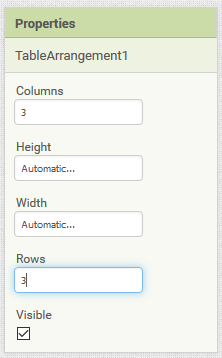
With the TableArrangement selected, go into the Properties toolbar and change the number of columns and rows to 3.
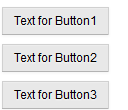
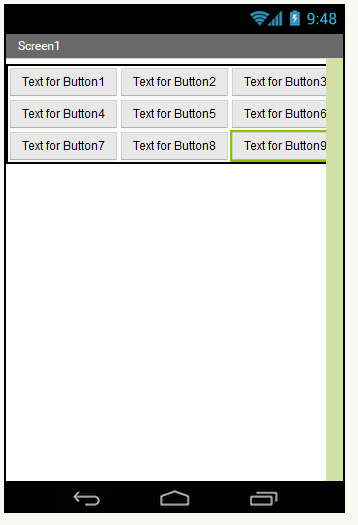
After this, insert 9 button objects from the User Interface tab in the Palette toolbar and arrange them in the TableArrangement.
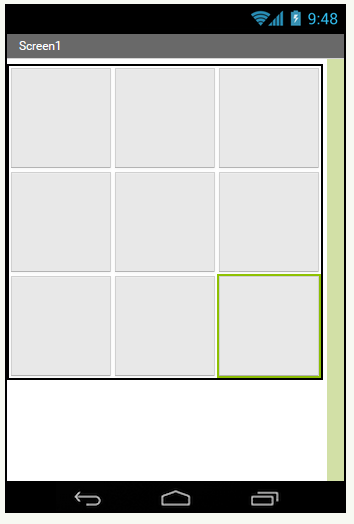
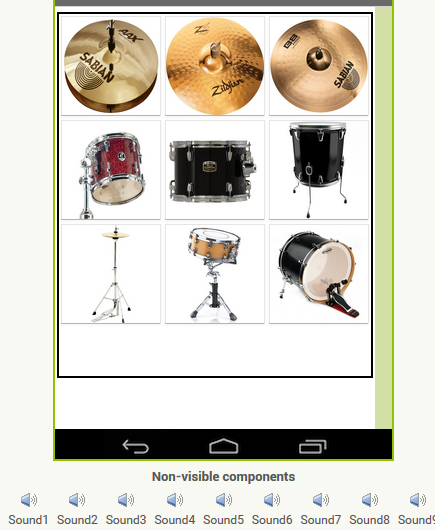
We need to change how the buttons look. Lets make them into squares by changing the height and width of each button to 100 pixels each in the Properties tab. Also lets get rid of the text on each button in the Properties tab as well. Your screen should now look like this.
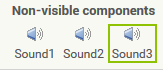
Once this is done you should upload the images and sound files you will be using in your program via the Media toolbar (you may need to download these first). Once these are uploaded change the image for each button to one of the uploaded image files. For the audio you will need to go into the Media tab in the Palette toolbar and drag 9 Sound components onto the screen. These will appear below the phone screen in a section called "non-visible" components. For each of the Sound components you will need to assign a source in the Properties tab. Once you have all this done your screen should look like this.
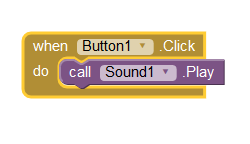
With your user interface (UI) complete you will now need to work in the Blocks screen. You can switch to the blocks screen by clicking the tab at the top right corner of the screen called "Blocks." On this screen we will be telling a button what to do when it is pressed. The first thing we need to do is go to the Blocks tab on the left and then place a block from Button1 in. Once you have this block we then need to go scroll down the Blocks tab and pull a block from Sound1 to play the sound when Button1 is clicked. Drop the play block into the click block to make the button play the sound when clicked. The blocks we need and how to set them up are shown below.
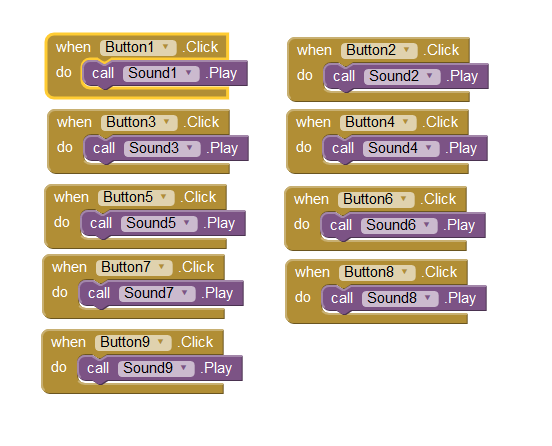
With this first chunk of blocks done we just need to do the same for the rest of the buttons. Your screen should similar to this when done.
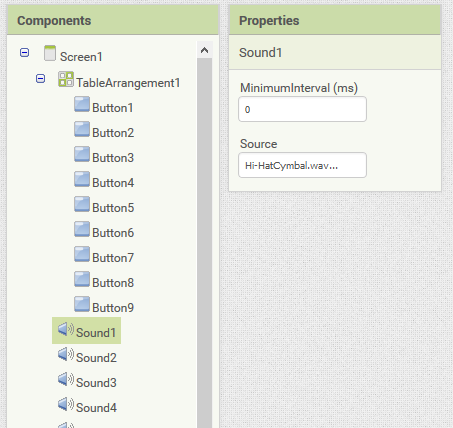
With your buttons set up on your screen and programmed to play a sound we just need to decrease the time interval between sounds. This can be done by going into each Sound in the Components tab on the Designer screen and changing the MinimumInterval (ms) to 0 if it is not already this and repeat this for all nine.
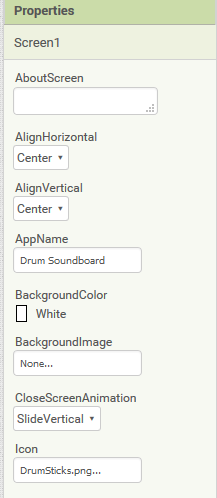
All that is left now is to give your app an icon and tidy up some names such as the AppName for the Screen component. This can all be done using the Components tab and changing around different fields for the Screen.
Once this is done your app is ready to be tested and installed on a phone!
- Want to be able to pause and resume longer sounds? Have your buttons stop what is playing when clicked (bonus: have it stop what is playing when long clicked)
- Turn your soundboard into a joke machine! Instead of using sounds, have your soundboard's buttons display different texts or images when clicked to tell a joke. Be sure to have it play a laugh track at the end of the joke!
- Using the Camera and/or SoundRecorder, create your own images and/or sounds to use in your app. You can take pictures of your friends and assign them to buttons or record your own jokes to be used in conjunction with the second stretch goal.