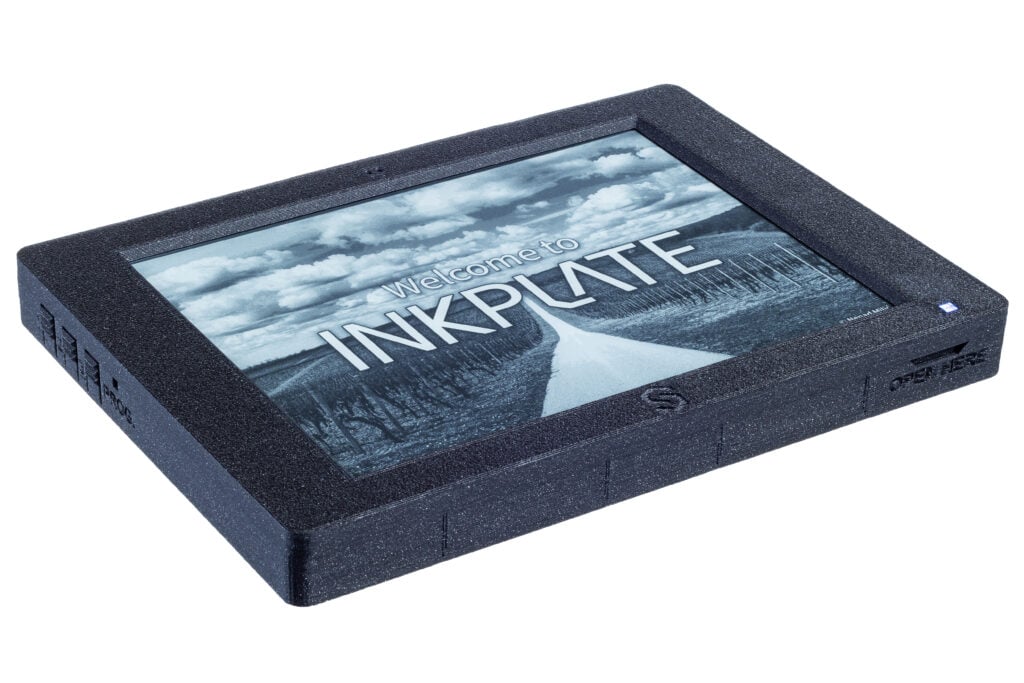
All-in-one, ready-to-use Inkplate Motion Arduino Library! This library is specifically for our Inkplate MOTION series of development boards. Unlike the original Inkplate boards (which are based on ESP32), Inkplate MOTION is based on STM32.
Enjoy fast e-paper refresh rates in a user-friendly Arduino IDE. Draw text, shapes, and images; fetch data via Wi-Fi; and use any number of peripherals with just a few lines of code! ⚡
As we roll out our first Inkplate MOTION board, Inkplate 6 MOTION, this is the first time this library is available to the public. In the spirit of our open-source approach, we welcome your feedback and contributions. Please feel free to open a GitHub issue in this repository if you need more info on how to implement a feature or if you spot a software bug. 🐛
For the full Inkplate documentation, getting started guides, FAQs, and other resources, please visit docs.inkplate.com.
ℹ NOTE
As of now, the documentation is still a work in progress, but it will be available soon at the above link.
-
Install the Inkplate Motion Board Definition
Use the Dasduino Board Definition. Select the Inkplate Motion board from the boards menu in the Arduino IDE. -
Install CH340 Drivers (Windows Only)
If you’re on Windows and haven’t already done so, install the CH340 drivers. Follow the instructions here. -
Install the STM32CubeProgrammer
Download it from STMicroelectronics. It’s needed for programming the Inkplate Motion’s STM32 MCU. -
Get the Library
You can download the Inkplate Motion Arduino Library from this repository or install it directly from the Arduino Library Manager. -
Open and Upload Examples
Open any of the Inkplate Motion example sketches from the Arduino IDE and upload them to your Inkplate Motion board!
ℹ NOTE
To upload code via USB, put Inkplate Motion in programming mode by pressing the PROGRAMMING BUTTON. If you have a board with a case, you can use the provided tool to press the programming button without fully opening the enclosure.
The example sketches in this library showcase various features of the Inkplate 6 MOTION. They are organized into categories:
-
Basic
Demonstrates drawing simple graphics (text, shapes) in black and white or grayscale, and refreshing the screen with fast updates. -
Advanced
Explores deeper features like low-power deep sleep, built-in RTC, SD card reader, Wi-Fi, and onboard peripherals and sensors. -
Diagnostics
Contains test sketches, VCOM setting adjustments, and other diagnostic tools for troubleshooting.
Inkplate boards support two power options:
-
USB Port
Simply plug in any micro USB cable to power the board. -
Battery
Use a standard Li-Ion/Li-Poly 3.7V battery with a 2.00 mm pitch JST connector. The onboard charger will charge the battery at 500 mA whenever USB power is connected. You can use any size or capacity battery as long as current requirements are met. However, if you're using our enclosure, the battery should not exceed 90 mm x 40 mm (3.5 x 1.57 inches) and 5 mm (0.19 inches) in height.
This battery is a good fit for Inkplate 6 Motion. The board is optimized for low power consumption in deep sleep mode, making it suitable for battery-powered applications.
Please check the polarity of the battery JST connector! Some off-the-shelf batteries have reversed polarity, which can damage the Inkplate board. If you use batteries from soldered.com or official Inkplate batteries, you’re safe.
ℹ NOTE
A CR2032 coin cell is only for RTC backup. It cannot power the Inkplate.
This repository uses source code from other projects. All relevant license files are located in the licenses folder.
To enable Wi-Fi connectivity, Inkplate Motion uses an ESP32-C3 MCU running an SPI AT Commands Firmware. This firmware is pre-flashed on your Inkplate Motion. If you ever overwrite or corrupt the AT SPI firmware, you can find a backup in the extras folder. You can flash it using the CONNECT Programmer and esptool.
You can get Inkplate Motion by supporting us on Crowd Supply. 🙌
For any questions or issues, please reach out via email or our contact form.
